
 Support FPE

How to Make a Playable Godot Level in Blender
Do not begin with a giant dream level. Begin with one charming room you can walk around. That tiny success proves that your art, collision, player, metadata, export, and Godot runtime all understand one another.
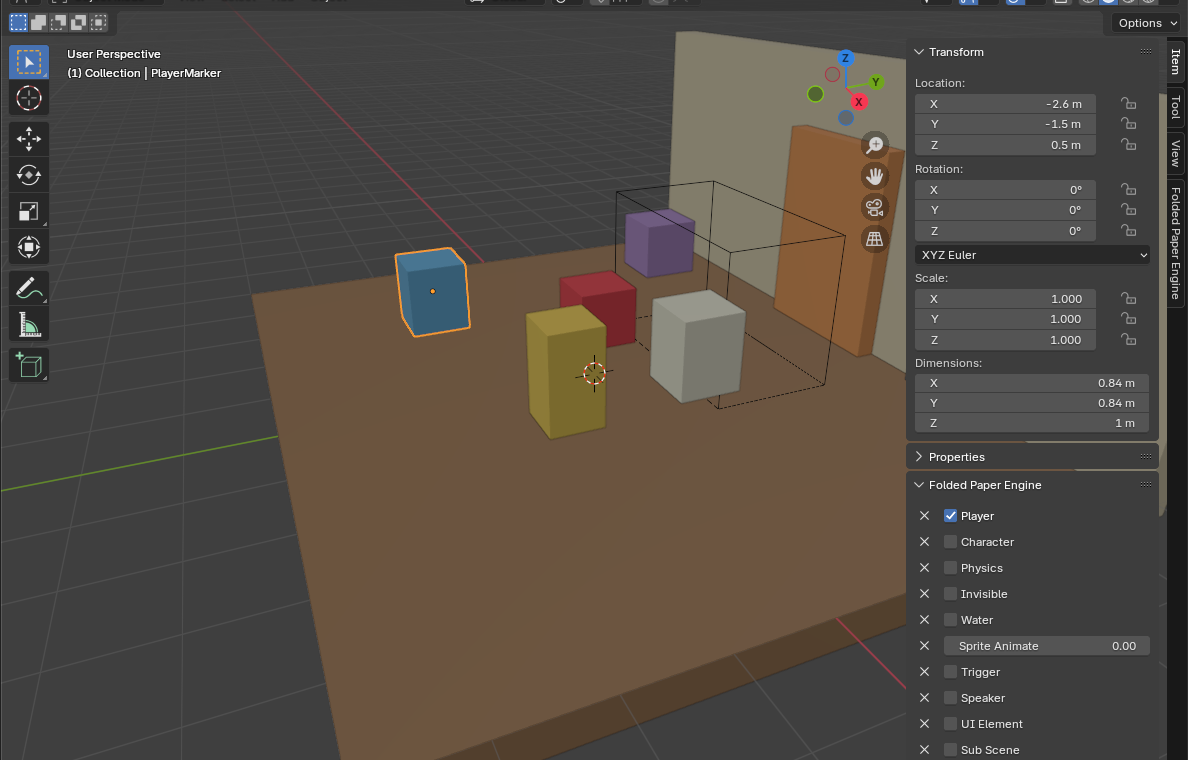
Before decorating: give the ground collision with Godot's
-col name suffix, select the player marker, and check Player in
Blender's Item → Folded Paper Engine panel. Those two steps
turn a room you can see into a level you can stand in and play.
Establish the coordinate contract
Godot uses Y up and forward along negative Z for cameras; glTF defines consistent asset orientation between tools. Work at real scale, apply transforms where appropriate, and verify one known-size object before building a whole map. For oriented assets, test forward direction early rather than repairing every character later.
A practical level workflow
- In Blender, block the walkable spaces with simple geometry and test scale in Godot immediately.
-
Name the floor mesh with the
-colsuffix so Godot imports a visible mesh with static collision. Watch Collision (Walls & Floors) for the complete walkthrough. - Add a simple player marker, then check Player in Blender's FPE panel. The player guide and Player video show every setting.
- Choose stable, readable names for rooms, entrances, spawn points, and interactive props.
- Apply or deliberately preserve transforms before export. Be consistent across reusable assets.
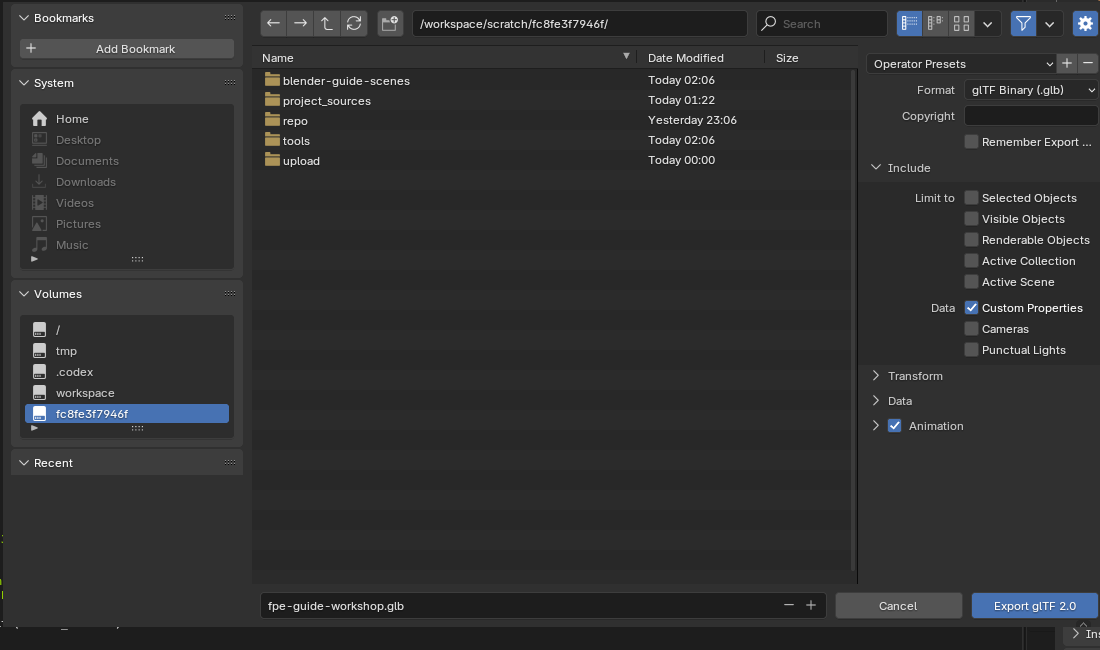
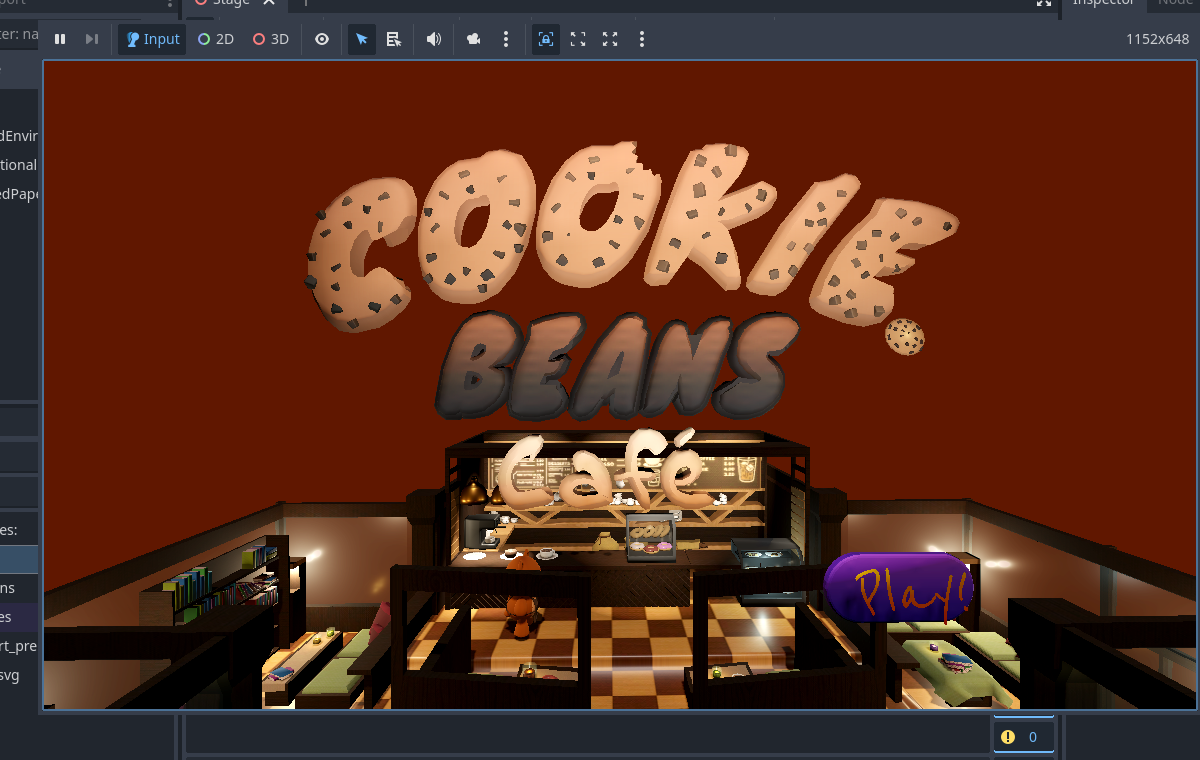
- Export GLB with Custom Properties enabled. Follow the FPE Export video if this is your first trip into Godot.
- Re-export often. The workflow only becomes trustworthy by surviving ordinary iteration.
Decide what belongs where
- Blender: geometry, transforms, materials, cameras, lights, animation, placement, and authored gameplay annotations.
- Godot: game-wide managers, UI, save state, unique scripts, platform integration, and runtime-only effects.
- Shared contract: stable IDs, event names, item kinds, scene paths, and feature types.
Common mistakes
- Making manual edits inside an imported scene that disappear on reimport.
- Using one giant level file when rooms have natural streaming or ownership boundaries.
- Exporting unapplied negative scales or unpredictable triangulation.
- Letting filenames and cross-scene IDs drift independently.
Godot reference: Model export considerations