
 Support FPE

How to Switch Cameras and Create Cutscenes from Blender
Artists compose shots. Put the camera where the reveal looks best in Blender, then connect that shot to the same triggers, animation beats, and level events that give the scene its rhythm.
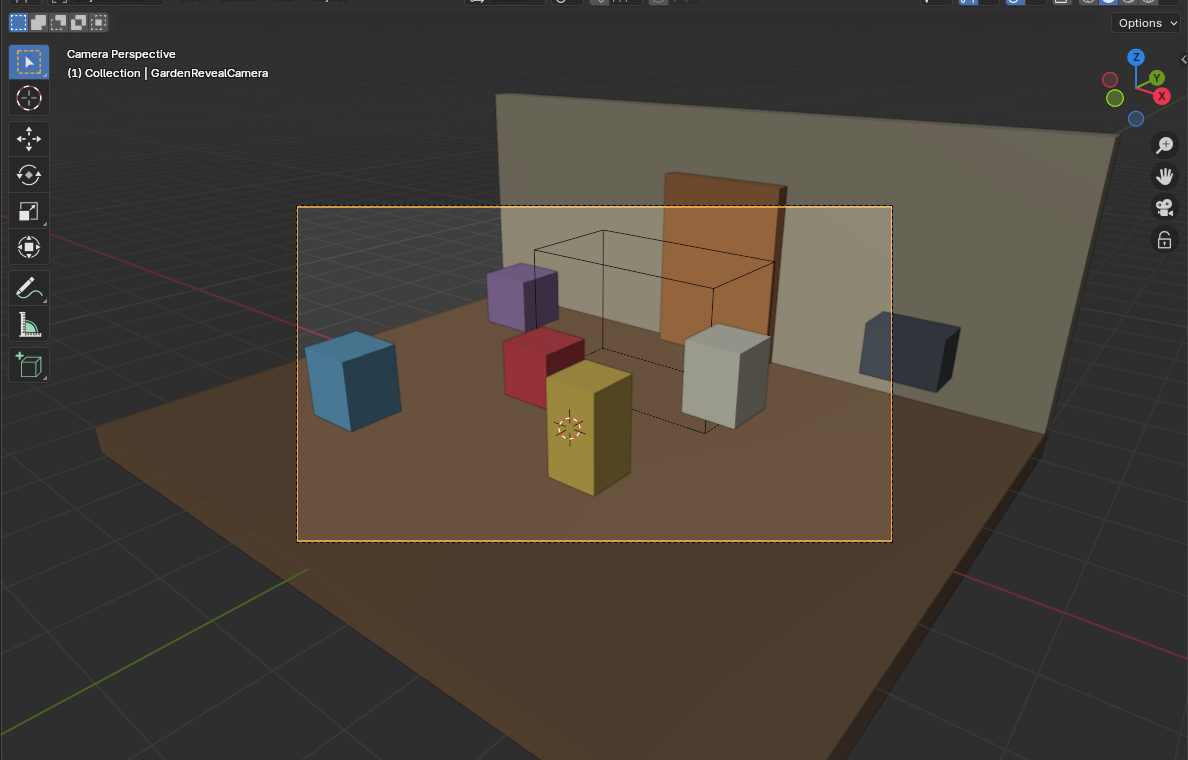
Compose the shot in Blender
-
Add and name the camera for its purpose, such as
GardenRevealCamera. - Frame the shot with the same level geometry and character placement the player will see.
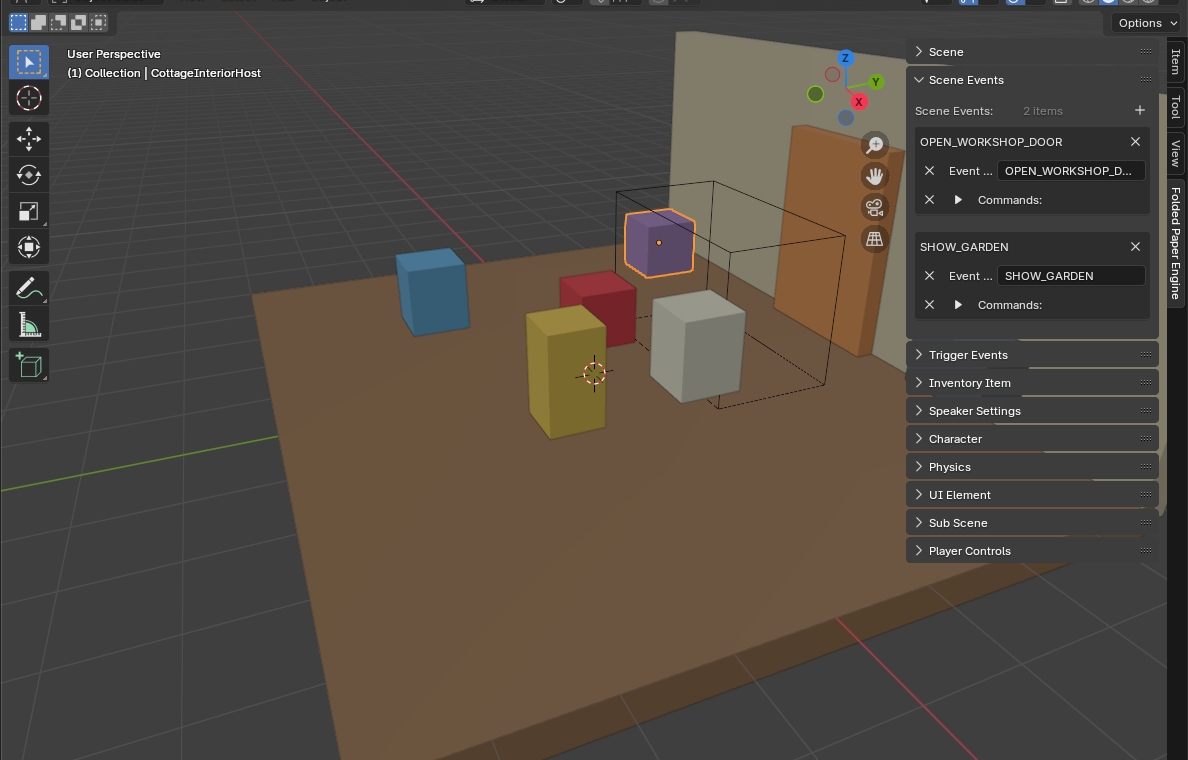
- Create a trigger or animation Frame Event for the moment the shot should begin.
- In the matching Scene Event, add Deactivate Player Controls and Activate Camera.
- At the end, add Reactivate Player Camera and Reactivate Player Controls.
- Export cameras and Custom Properties, then test interruption and repeated activation.
Understand the Godot camera state
Prepare the cameras
- Keep the player camera beneath the player rig so it follows the intended motion.
-
Place fixed or cutscene
Camera3Dnodes at stable scene locations and name them by purpose. - Choose one camera as current when the level starts.
-
Have a coordinator accept camera IDs or references and call
make_current(). -
Expose a separate
return_to_player()operation instead of relying on whichever camera happened to be active previously.
Coordinate control and UI
Decide whether a camera cut is observational or interactive. For a cutscene,
disable player input before switching and restore it only after the final
shot. Keep screen-space UI under a CanvasLayer so it is not accidentally
tied to a 3D camera. If a transition can be interrupted, make cleanup idempotent:
returning twice should still leave one current camera and enabled controls.
Cut, blend, or animate?
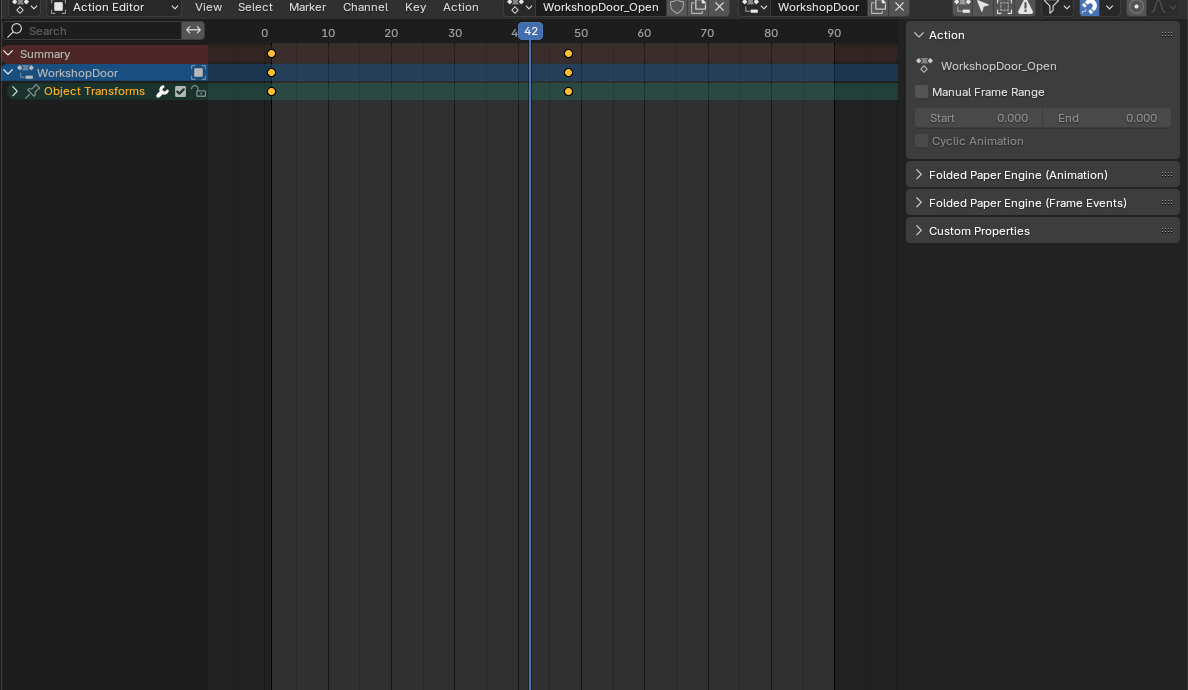
Use an immediate switch when the edit itself communicates meaning. For a smooth move, animate a dedicated transition camera or use a controlled rig; do not reparent the player camera mid-shot. Keep gameplay collision and player orientation separate from a cinematic camera's transform.
Common failure checks
- No view: confirm at least one enabled camera is current and inside the active viewport.
- Player cannot move afterward: check the code path that restores input, not only the camera.
- Camera offset after import: apply or intentionally preserve Blender transforms and verify scale.
- UI disappears: move screen UI out of the 3D camera hierarchy.
Godot reference: Camera3D class reference